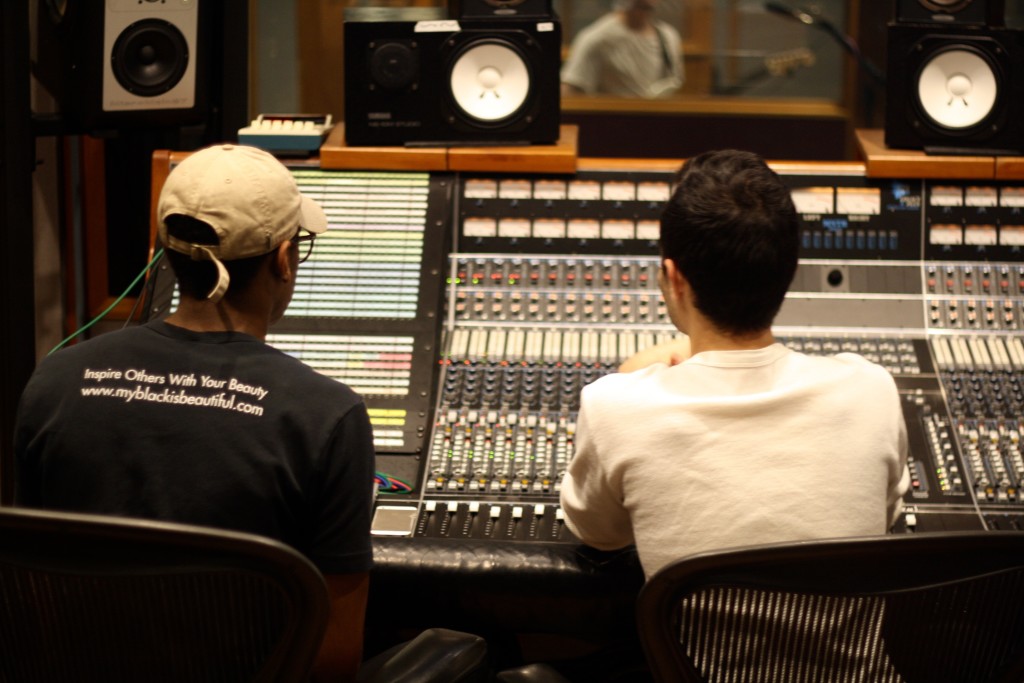
Here’s a plugin chain that I commonly use and recommend to audio engineers when mixing Pop, Rock, EDM, or Hip-Hop, vocals. Use this as a general guideline when adding plugins or analog gear onto your vocal chain.
When recording lead vocals, record through a second time for a total of 2 lead vocals. Use VocALign to align both takes in perfect synchronization. 1 main take and a double for a total of 2 vocal tracks. Often times, recording engineers will record 4 or more takes to create a fuller sounding chorus or climax in a song. When recording harmonies, advise the singer to record his or her vocals 2 or more times. It is commonly practiced to pan the first vocal take hard left, and the second hard right.
Industry Standard Vocal Chain
1: Tune (AutoTune/ Melodyne)
Try AutoTune in graphic mode for more accurate and less T-Pain sounding correction
2: Remove Breaths (If Needed)
Plugin suggestion Iztope Nectar
3: De Esser (If Needed)
Plugin suggestion Waves Renaissance DeEsser
4: Subtractive EQ
High pass around 100 Hz. Cut between 150-300 Hz. Mud accumulates here & sounds often overlap in this frequency
5: Compressor 1
Suggestion Waves CLA-2A (optical compressor)
Shouldn’t be more than 3 DB of gain reduction. Only moving on the loudest peaks
The first compressor is used to capture extreme peaks
6: Compressor 2
Use more heavily than the first compressor.
Suggestion SSL E-Channel for a clean sound, or CLA-26
The analog option at the bottom of Waves plugins will often raise your noise floor by adding white noise. Generally, turn the analog mode off unless the analog signal contributes to your desired sound and texture
7: EQ Boost
Use after a compressor to avoid additive EQ triggering your compressor
A critical area to boost on thin sounding vocals is between 600-800 Hz giving the vocals more body
Suggested EQ: Waves SSL E or G Channel, Scheps 73, EQ-1A, Fabfilter pro Q2
Boost mid range frequency & brightness 2-3 Hz
8: Send to reverb
Always high pass reverb at 400-500 Hz
Separate AAX send
Send a little bit of vocals to 2 Reverbs
Little to each
Try side chaining the reverb to the kick or vocal itself. This makes the vocal duck and creates pumping
9: Spreading Vocals
Watch out for phase issues
Suggested plugin: Schwa CMX
This plug spreads vocal hard left, and hard right and detunes one by a few cense
Send to AAX
10: Delay
Bus to AAX
Use send on track, automate is so only specific words send to the delay
11: Saturation
Adds a bit of grit and character to vocal
Good for hip-hop vocals, and rock vocals. Not great for female vocals.
Can be added before or after compression
Inserts
Autotune
IZotope Breath
Subtractive EQ
Compressive -3db
Compression to shape
EQ
Safety Final High pass (Optional)
Bus:
Reverb (high pass 400-500 Hz, low pass 10,000Hz)
Delay
Spread and detune plugin example Schwa CMX
Optional
Saturation
Compression:
Attack Fast: Kills transients, less punchy, less percussive
Attack Slow: (For Hip-Hip Slow to Medium attack) Keeps transients, more punchy, more percussive.
Vocal Comping: Take the best parts of each take and putting them into 1 track
The Proximity Effect: The closer you put a microphone to your mouth, you boost the mid and low frequencies. Mic’s have a direction characteristic where the closer you are to the mic, it will boost those lower mid frequencies around 200-300 Hz.
You can purposely push the peaks into red for analog sound on consoles. Typically, clipping in digital is avoided.
Cut bad frequencies out with EQ before adding a compressor. A compressor may compress the sound but also increase the perceived volume.
You don’t want to compress and make bad frequencies louder.
Optional: CUT MUD on mixes by using bell EQ to take out 250 Hz on the master channel


